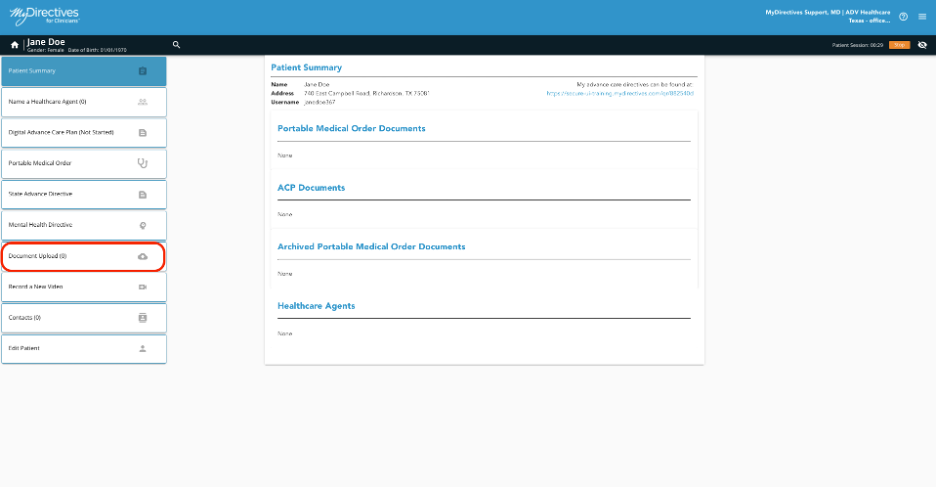
If a patient presents with documents you wish to upload into their account, they will first need to be scanned as electronic documents. Then you can upload them into the patient’s account by clicking the Document Upload option in the left-hand navigation menu of your screen.
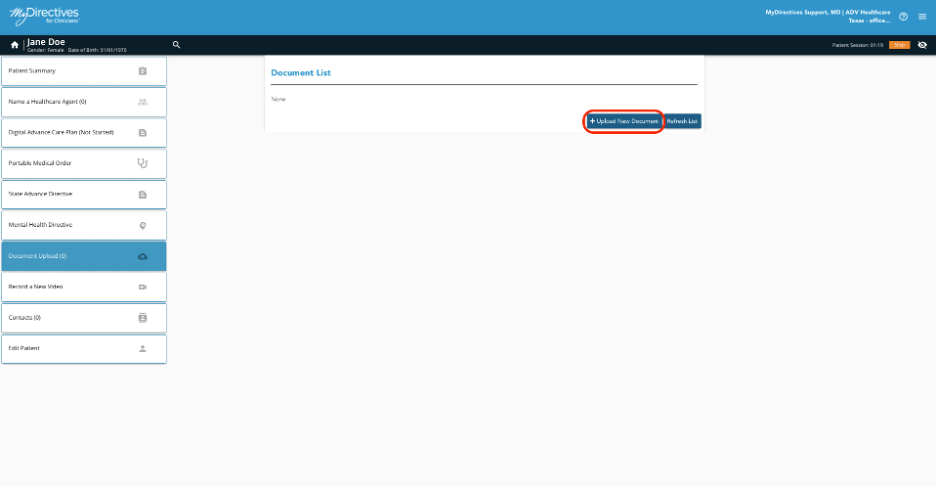
On the Document List page, you will be able to view all available documents that are in your patient’s account. Click the Upload New Document button to upload a new document.
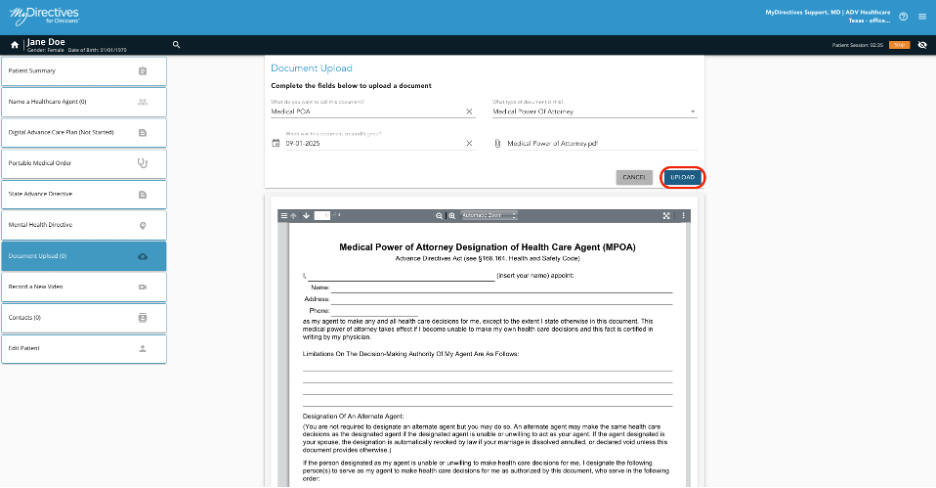
Here, you will need to enter the document information such as the name, type of document and when it was signed. The field with the paperclip icon requires you to select a file to upload. When you do so, the document will display on the page as shown below. Once everything has been entered, click the blue Upload button.
A green success message will show at the top of the page when the upload has been successfully completed. The left-hand navigation menu will then show an updated number for how many uploaded documents the patient now has in their account.